Using a Raspberry Pi for an Outdoor IP Camera
Being a kiteboarder, I’m always curious what the weather is doing in other local kiteboarding locations. The plethora of weather apps on my phone can only tell me so much, so I was determined to find a way to get a view into the current conditions from the comfort of my home or office. On top of that, I was hoping I could come up with a way to share this view with other kiteboarders in the area.
Determined to solve this situation, I started to look at off-the-shelf commerical webcams, trail cameras, and IP cameras. There were dizzying amounts of them, but none of them quite satisifed me in how I could work with the data that they provided. Many of these readily available products locked you in to using their web interface or app to view the images. After a hefty amount of research, I realized I had an extra Raspberry Pi sitting around that could pull probably accomplish what I was after. Then, after a much shorter amount of research, I realized many people had already done similar things using the Raspberry Pi. I bookmarked a load of different tutorials and blog posts and went to work.
The Plan
Although I already had the basics of a Raspberry Pi setup at home, I knew I would need to order quite a few new goodies to make this project happen. I quickly put together a list of all the items I would need for this build.
- Raspberry Pi
- Power Supply
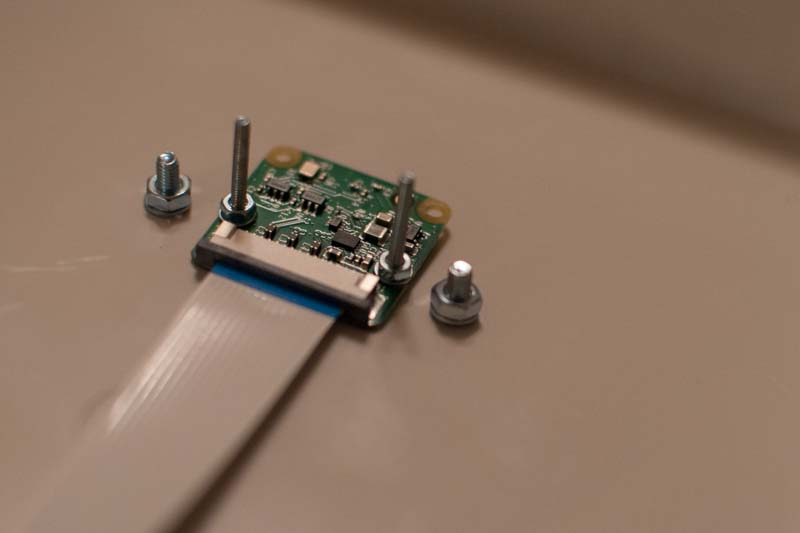
- Pi Camera v2
- Extended Camera Cable
- UV Camera Filter
- Camera Step-Up Filter Adapter
- USB WiFi Adapter
- Waterproof Enclosure
- Extension Cord
- Cable Gland
Beyond the materials list, I also came up with a plan for how the code portion of the camera would work.
- Run a Python script on startup via Crontab
- Take a picture using PiCamera
- Upload the new picture to a server via SSH
- Sleep for 15 minutes, then repeat the process
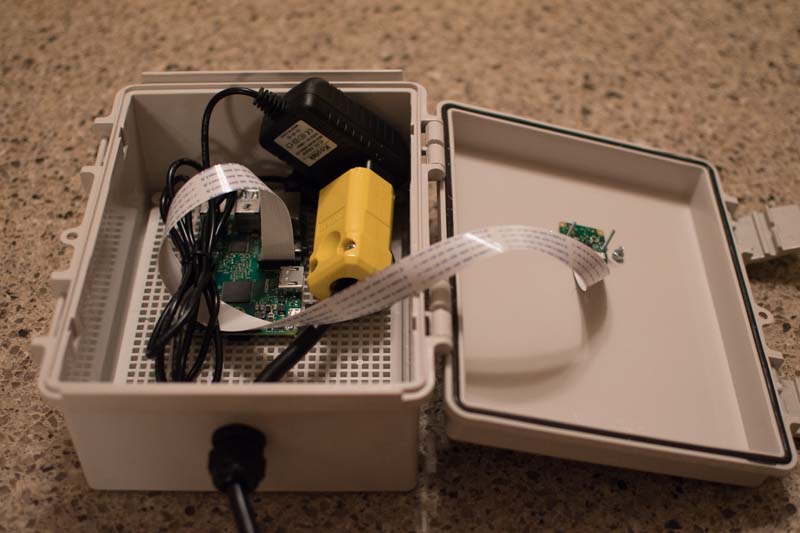
The Build
With a plan in place, the build out went fairly quickly with only a couple of minor hurdles. The coding portion went very well thanks to the examples that other developers have shared previously! It was the physical build out that I had the most trouble with.
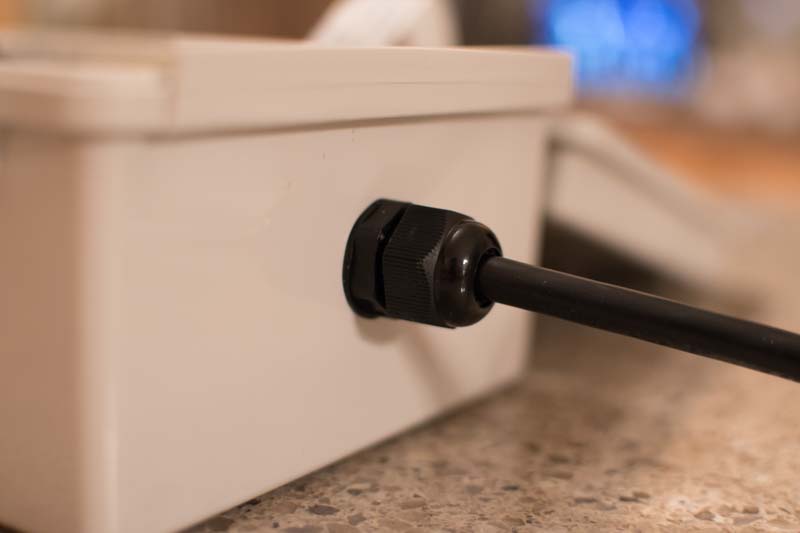
The first problem I ran into was with the extension cord. I quickly realized that using a normal extension cord would result in having to drill a large plug-sized hole in the bottom of my waterproof enclosure. If I did this, there was no way I could get a cable gland to produce a fairly waterproof seal. I did some browsing at the local hardware store and found a solution. I founds that you can buy replacement plugs for extension cords which would allow me to run just the cord through a cable gland and then replace the plug once inside the enclosure. One problem down.
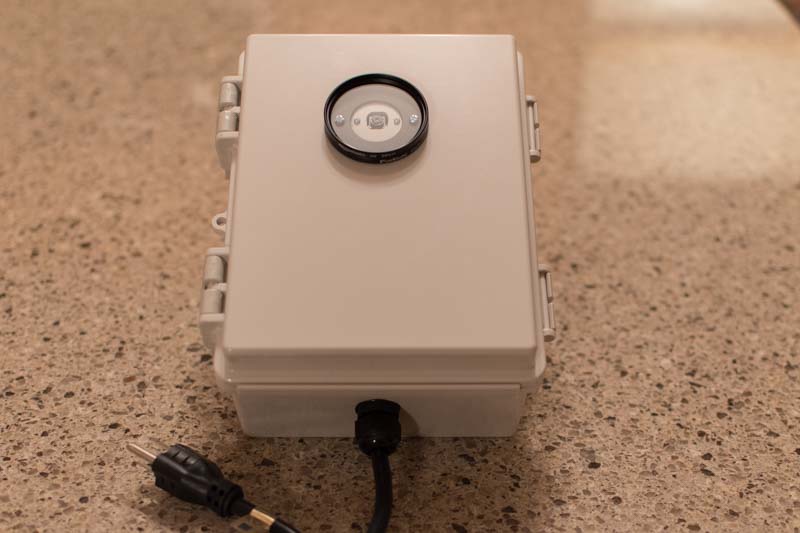
The other problem I ran into was how to mount the camera to the front of the box yet keep it weather resistant. I came up with an interesting solve using a UV camera filter in combination with a step-up filter adapter. This allowed me to mount the Pi Camera on the inside and cover it with the UV filter for a little protection from the elements. Finally, with a little bit of silicone caulking around the UV filter, the build was complete.
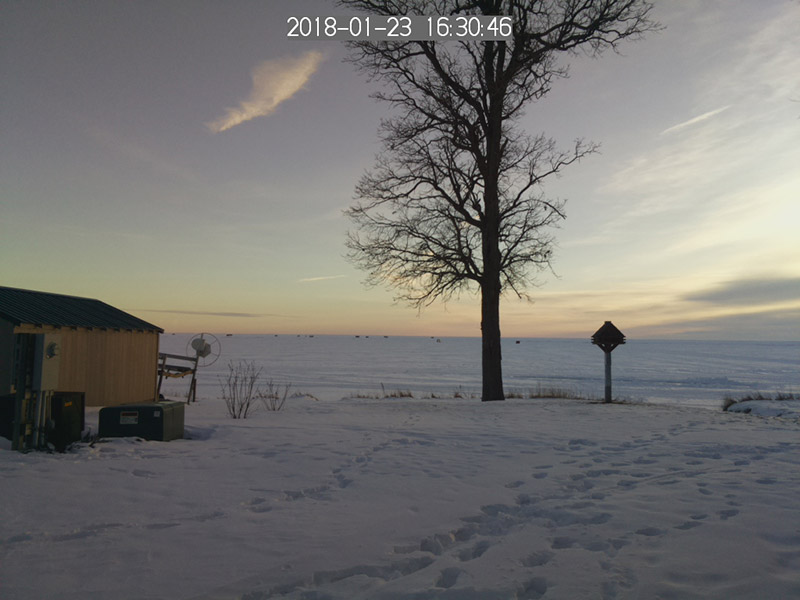
The Results
With the build behind me, I was excited to try this beast out. The location picked for it to live was our family cabin in Central Minnnesota which just so happens to be at popular kiteboarding location. What a coincidence! All it took was a few screws, some quick alignment, and plugging it in to get up and running. Within minutes, I could access a recent photo on my server from anywhere in the world. Success!

Questions?
If you are building out a similar project and have questions for me at all, feel free to contact me below. I always love to help!
